
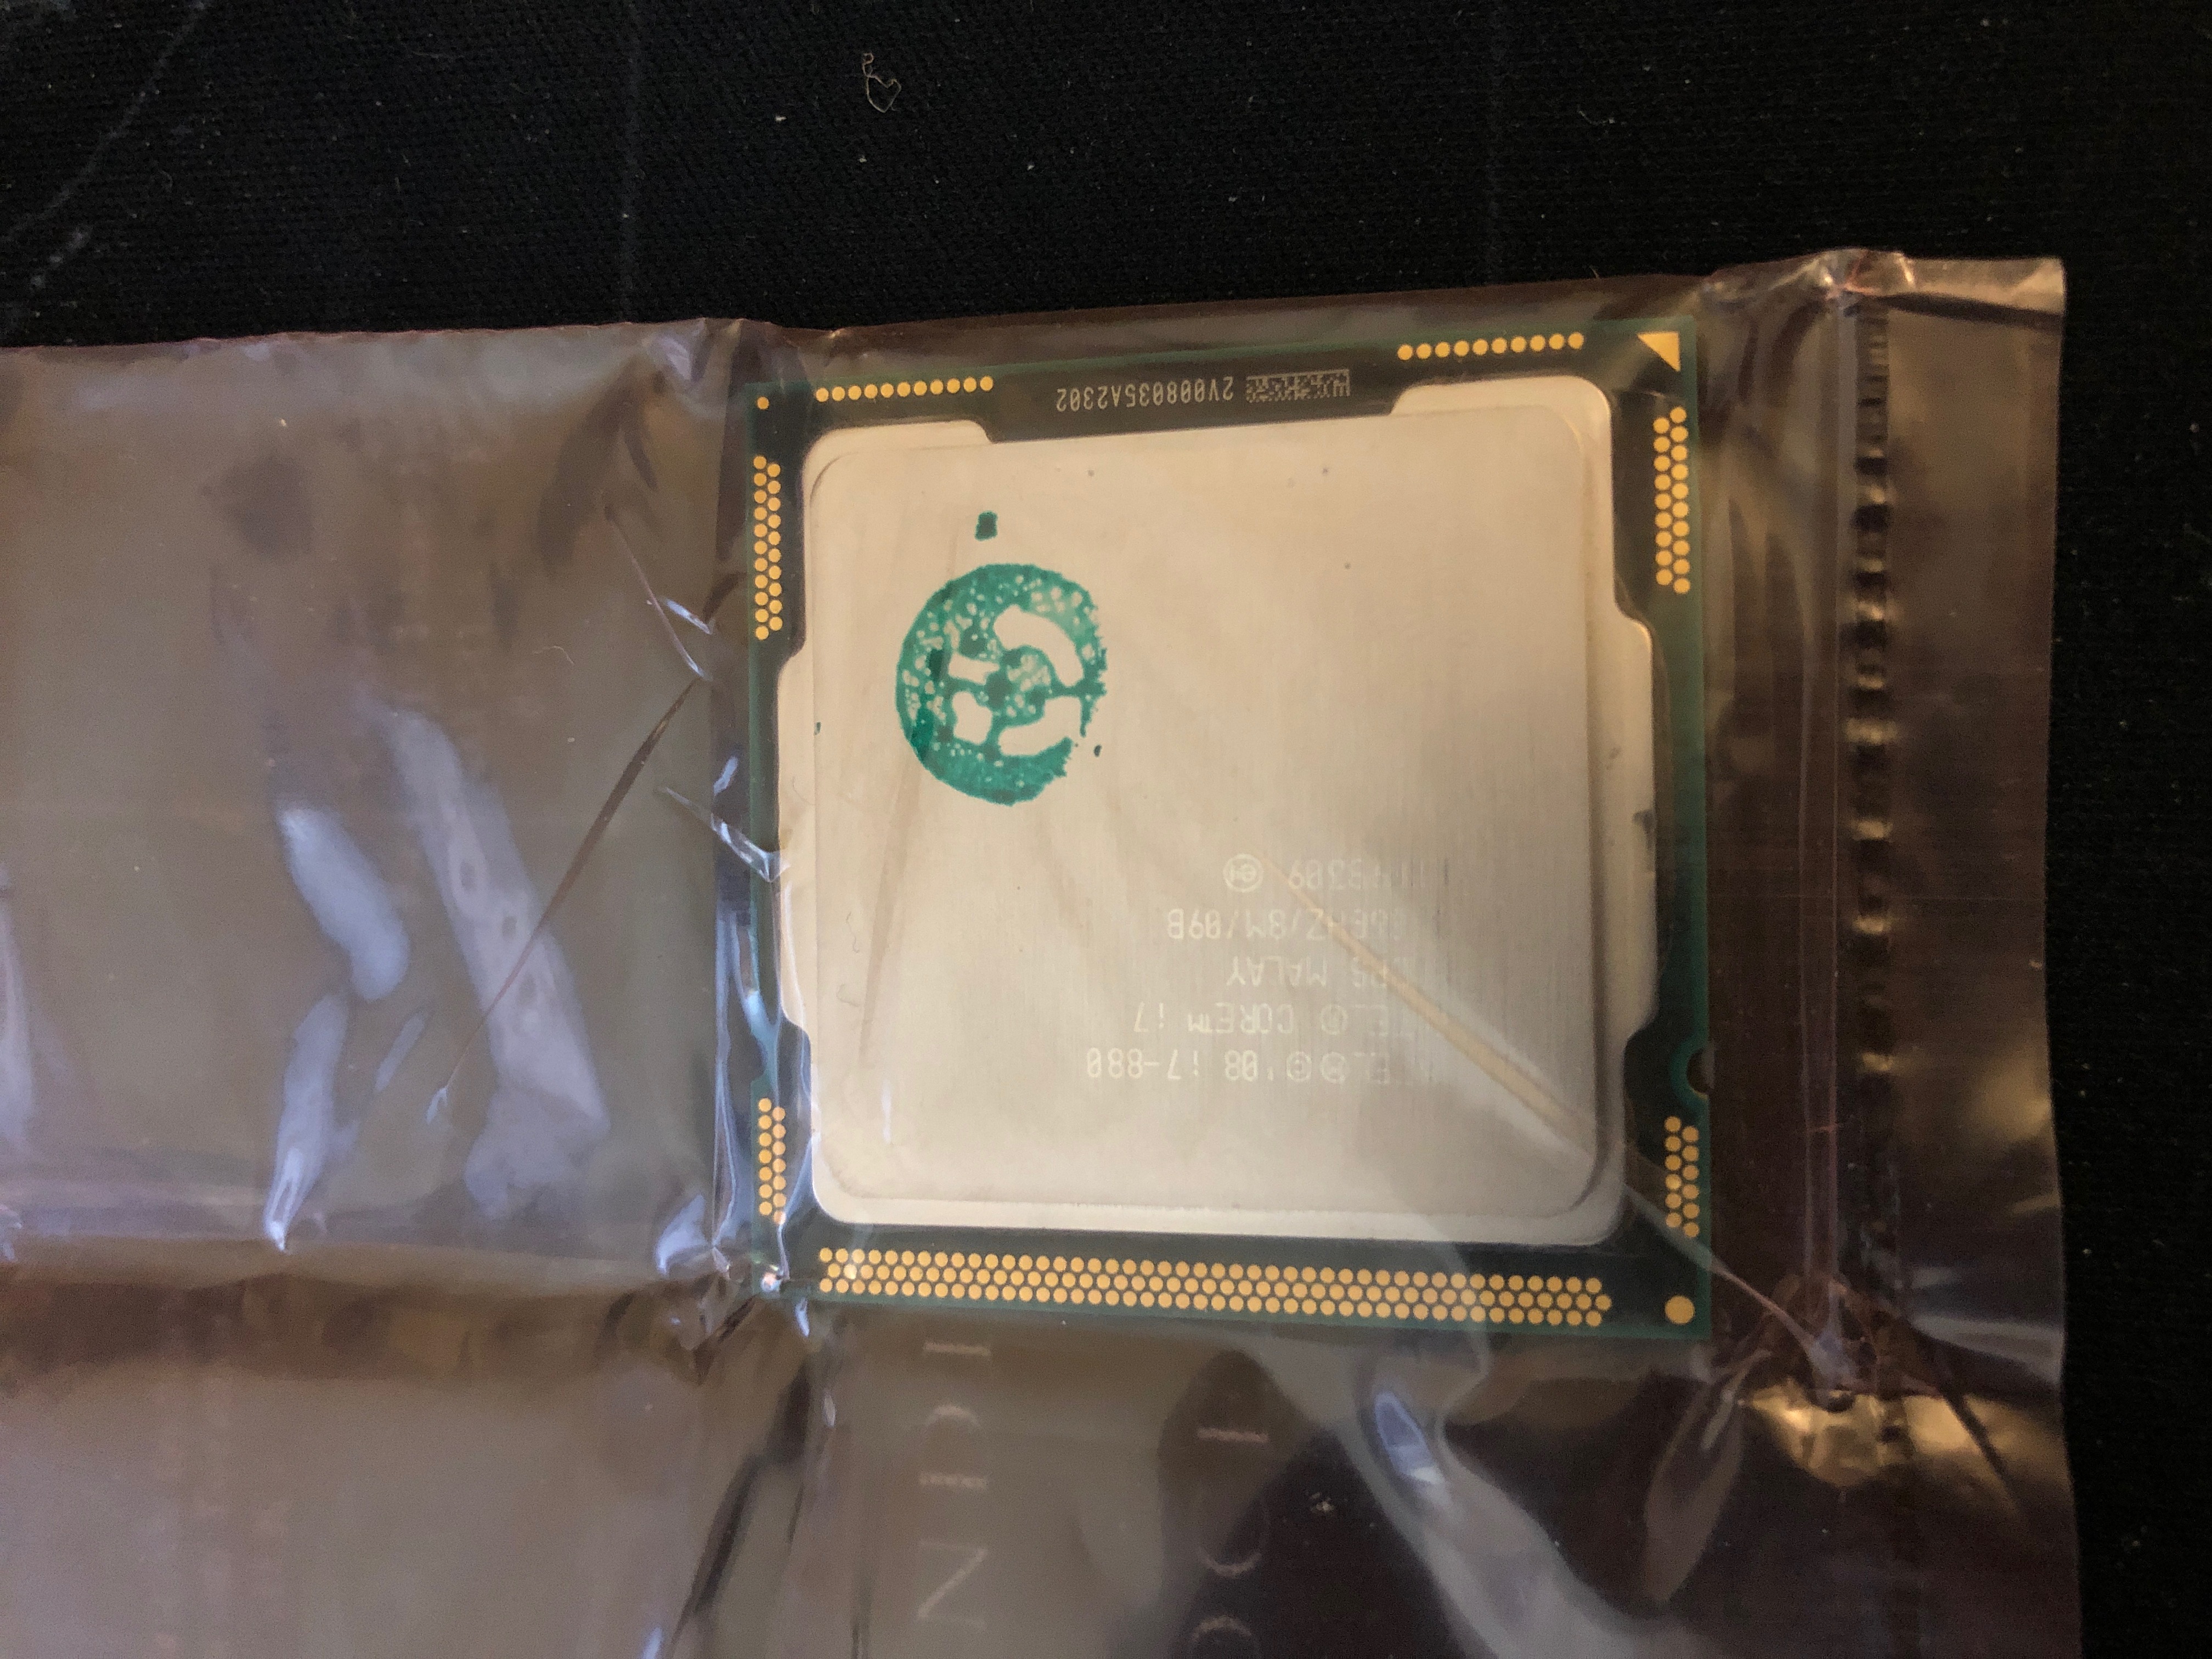
Well just after opening up my 2017 iMac to clean it and re-paste the CPU and GPU I got my new upgraded CPU for my 2009 iMac. I bought this iMac for $150 and it came with a 2.8 GHz i7-860 CPU, 2 TB Hard Drive, and 8 GB of RAM. Pretty good specs for this old iMac but I wandered if I could upgrade the CPU. I did some research and found out that yes I could upgrade from the i7-860 2.8 GHz to a i7-880 3.06 GHz. I went searching for one and found most were between $92 and $99 with free shipping at most places. I could have gone with the $92 CPU however it was going to be shipped from China and would probably take well over a month. The $99 one I found on eBay was in the US and only took 3 days to get here. Paying the extra $7 was well worth it in my opinion. I got the CPU in the mail 2 days earlier than I was expecting it so that night I decided to take the iMac apart and upgrade it.
First thing was to get past the display. Unlike my 2017 iMac the 2009 model was much easier to remove the display without destroying any glue or tape that holds the display on. The front glass is held on my magnets and removes easily using a suction cup. Once the glass panel was removed then I had to remove the LCD display. This was pretty easy except for the magnets that hold the glass on would grab the screws once you got them out. After removing 4 cables on the back the LCD panel came out with ease.
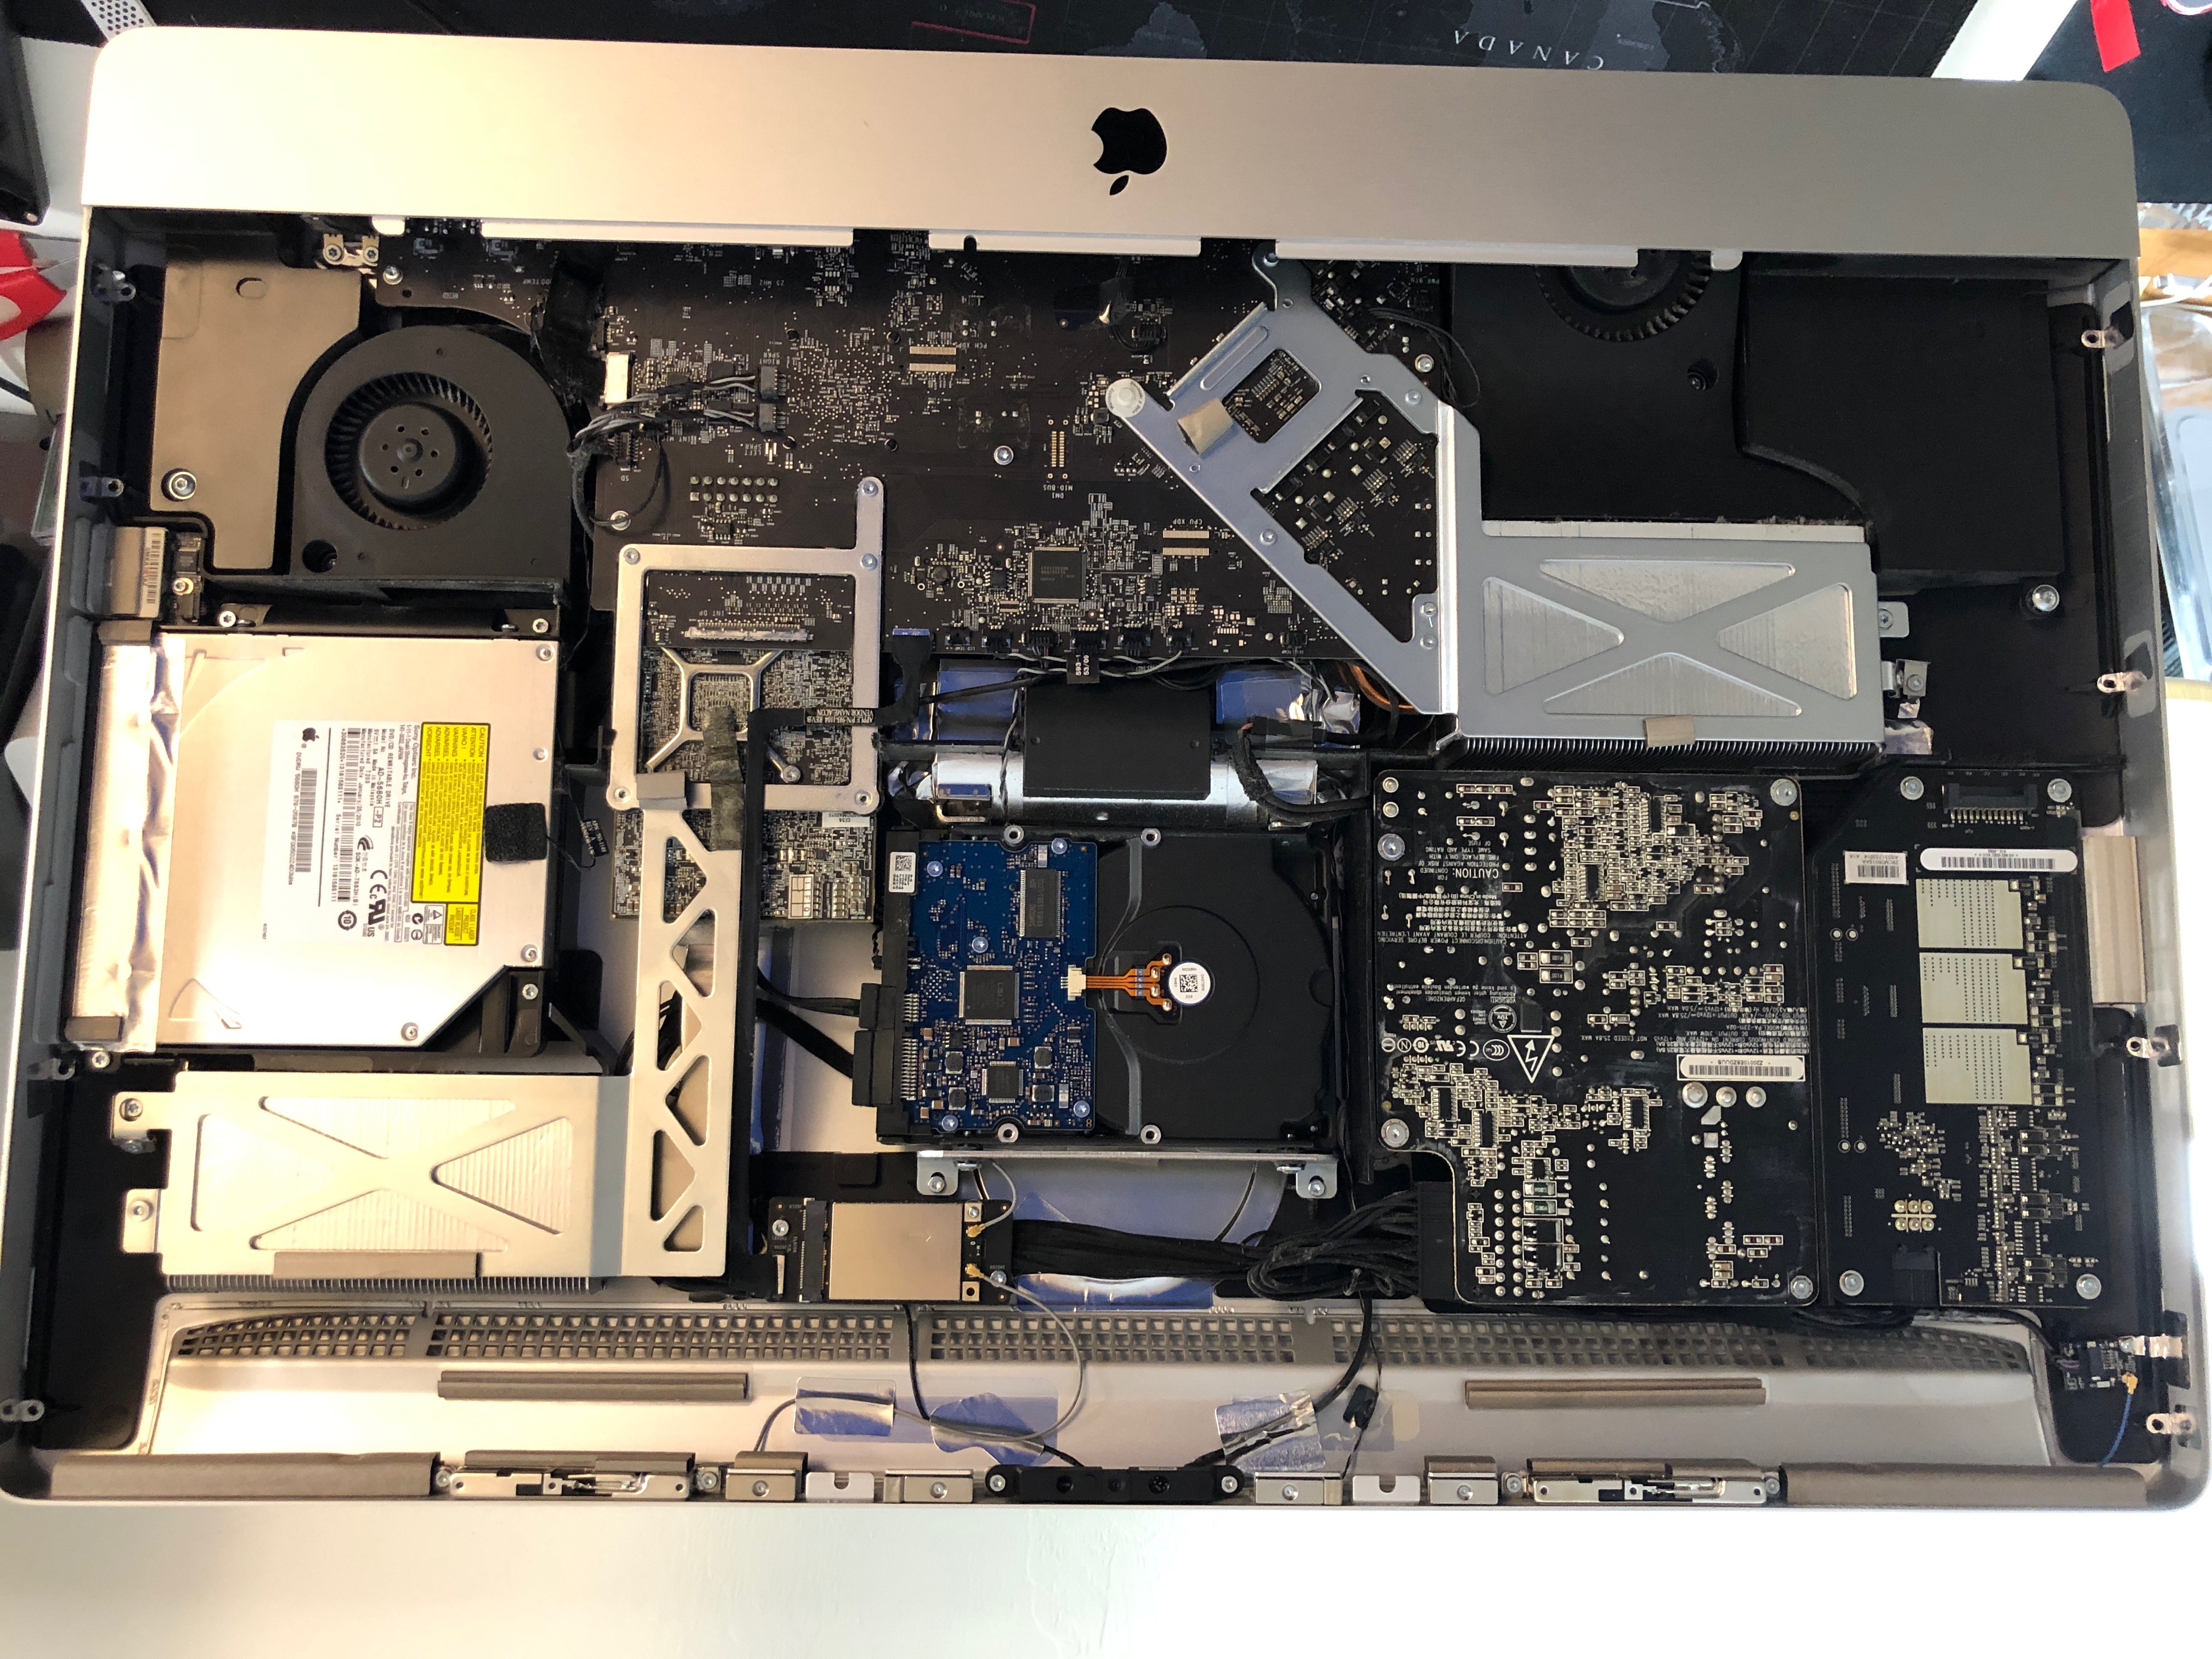
After removing the LCD I had to remove a ton of connectors. The 2017 iMac didn’t have many connectors to disconnect before removing the logic board. This 2009 however had probably about 20 connectors that had to be removed before I could go any further. There were a few that gave me some trouble but in the end they gave up and came disconnected. Once disconnected I removed the power supply and hard drive. Some guides said I needed to take out the super drive but I found that I didn’t need to do that. Once the logic board was removed I had access to the CPU which is located on the back of the logic board. Before I did anything else I blew the whole logic board and heat sinks with compressed air as well as the fans and the case to get all the dust that had built up over the years.
The heat sinks on the GPU and CPU have brackets that connect them to the logic board and the back bracket had to be removed first. Once removed I was able to remove the heat sink from the CPU. The good thing about this computer vs the 2017 is that the CPU on this one has a retainer mount for the CPU. The 2017 relies on the heatsink to keep pressure on the CPU. Lifting the lever on the retainer released the CPU with ease and it came out with very little effort. The place I bought the CPU was on eBay from a recycler and came in an electrostatic bag.
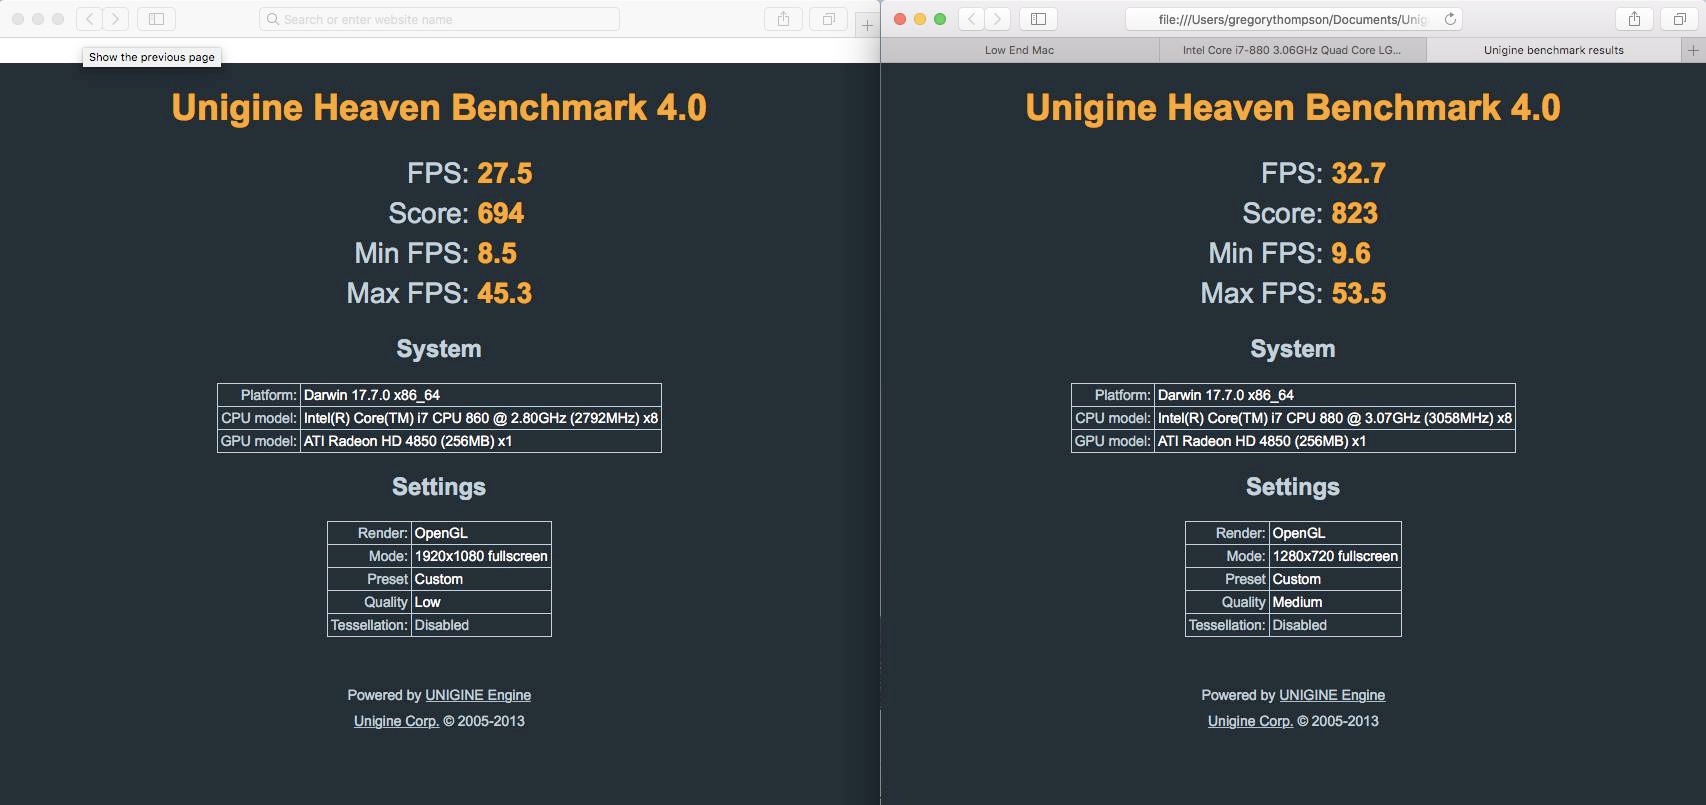
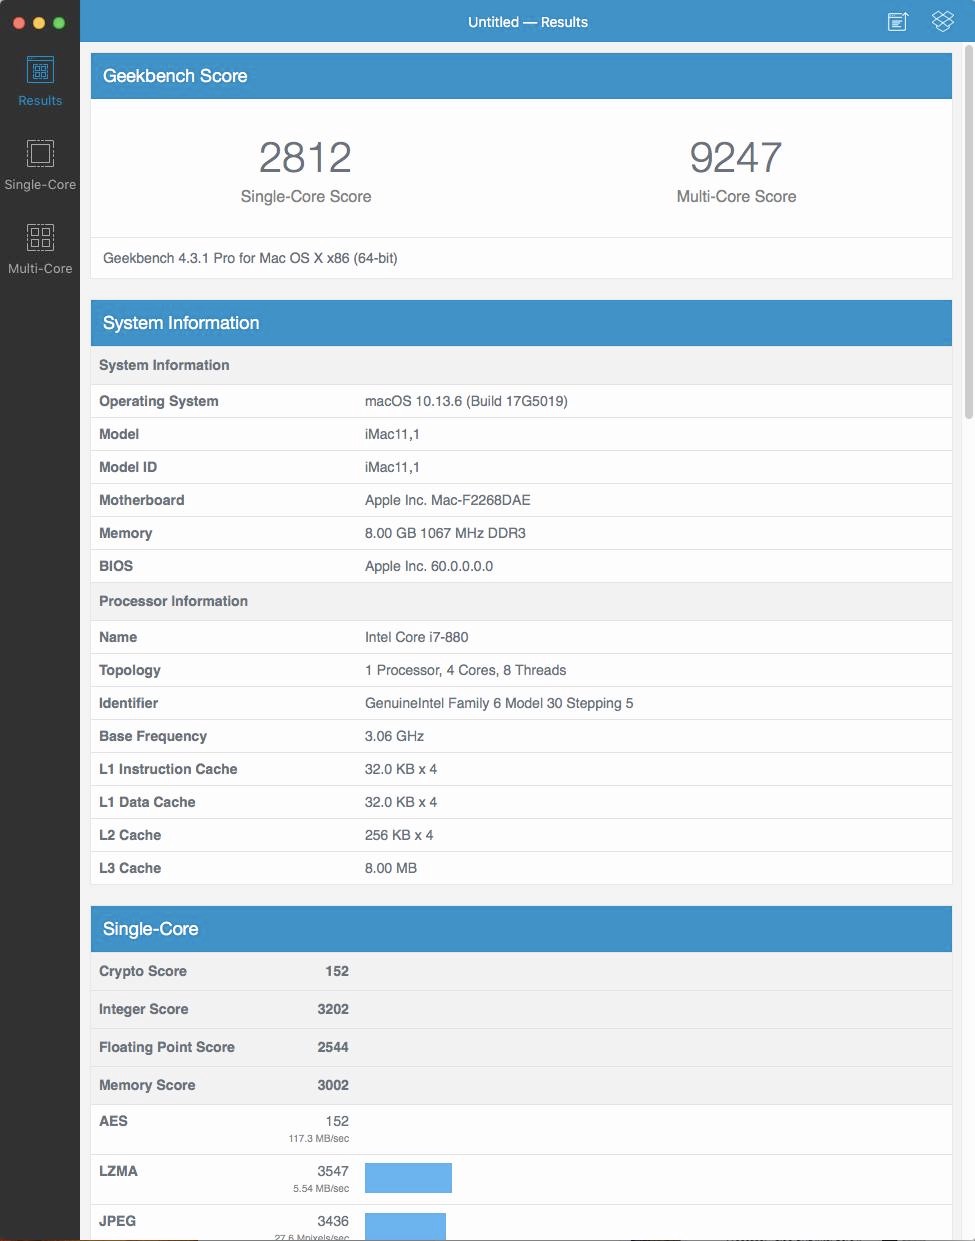
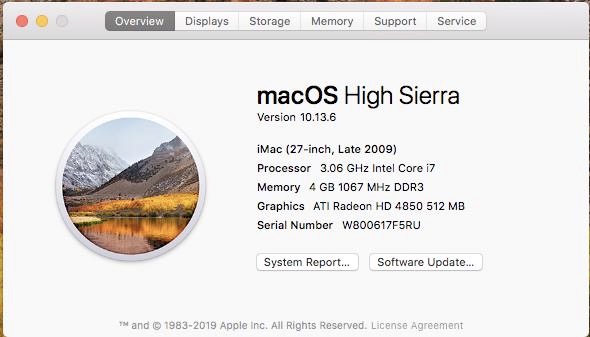
I swapped the CPU out and closed the retainer. I put a dab of paste on the top of the CPU and put the heatsink back on. Reversing how I took everything out of the computer I put everything back in verifying that all connectors were re-connected back to their respective connections on the logic board. After screwing back on the logic board I replaced the LCD display, inserted the memory, and connected power. I wanted to test it first before putting the glass panel back on. Now the glass panel is easy to remove but why put more stress on the panel than necessary. The computer made that famous bong sound and booted right up. I checked the about this Mac and it recognized that I had an i7 processor running at 3.06 GHz. I didn’t have to do anything to the computer to change the CPU other than replacing it. I didn’t notice at first but after posting on LEM I saw that only 4 GB of ram was being seen. I removed and reinserted the memory and got all 8 GB or memory afterwards. I then ran Geekbench 4 and came up with awesome results. I forgot to run a test before so didn’t have a comparison. I did however run a Heaven Benchmark test before so I ran one after and saw a big improvement.
The geekbench 4 test is shown below.
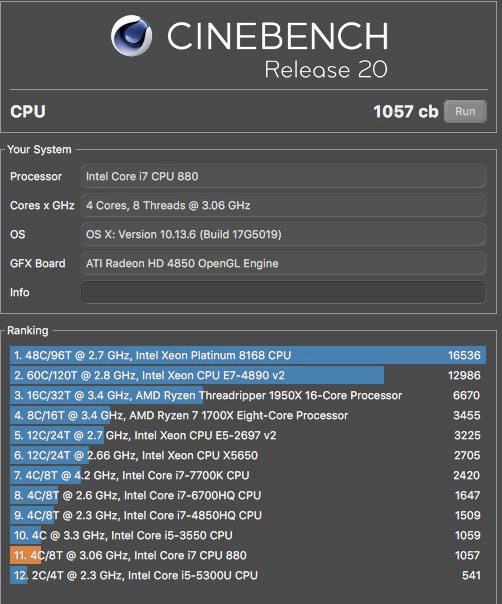
And the Cinebench R-20 test is shown below.
All in all it was a very successful upgrade. The next upgrade I want to perform on this machine is a graphics card upgrade. It will be much easier as I don’t have to actually remove a ton of stuff just to take the graphics card out of the machine. Look for more articles by me on Mac-Yak in the future as I explore these older machines. Thanks to Greg Hrutkay for suggesting I go with the i7-880 instead of the i7-870.
I think this is a big improvement and that is the max this machine can handle. I will be looking for his advice on the graphics card upgrade in the future. Thanks for reading and please leave comments below.
Nice work… I have been enjoying your blog and MacYac, here and on YouTube. I’m about to stert reading your PPC Challenge. Posting this from my 12″ PowerBook G4… :^)
Thanks John. We hope to see you on Mac Yak this Thursday night.
Hey I noticed that your unigine benchmark was ran at 1920×1080 on the i7 860 vs. 1280×720 on the i7 880, that’s going to give a much unfair advantage to the 880. Can you rerun the test with 1920×1080? I’m thinking about doing the same upgrade on my i7 860 2009 imac
Very nice! I’ve been looking for a project for my Late 2009 27″.
Did you ever track down a GPU upgrade that will work with Catalina?
Thanks for the article, and I’ll be watching the next Mac Yak!
Yep sure did. I run the RX5700XT and runs amazing with Catalina. I now run Big Sur on my cMP using OpenCore. Using OpenCore also lets hardware acceleration work great.
Great Article, Greg. I’ve been looking for a project for my Late 2009 iMac.
Did you ever find a GPU upgrade for yours?
THanks, and Thanks to you and all for Mac Yak!
Yes. I now run a RX5700XT in my cMP. I have to run Catalina or higher but it works great under OpenCore.